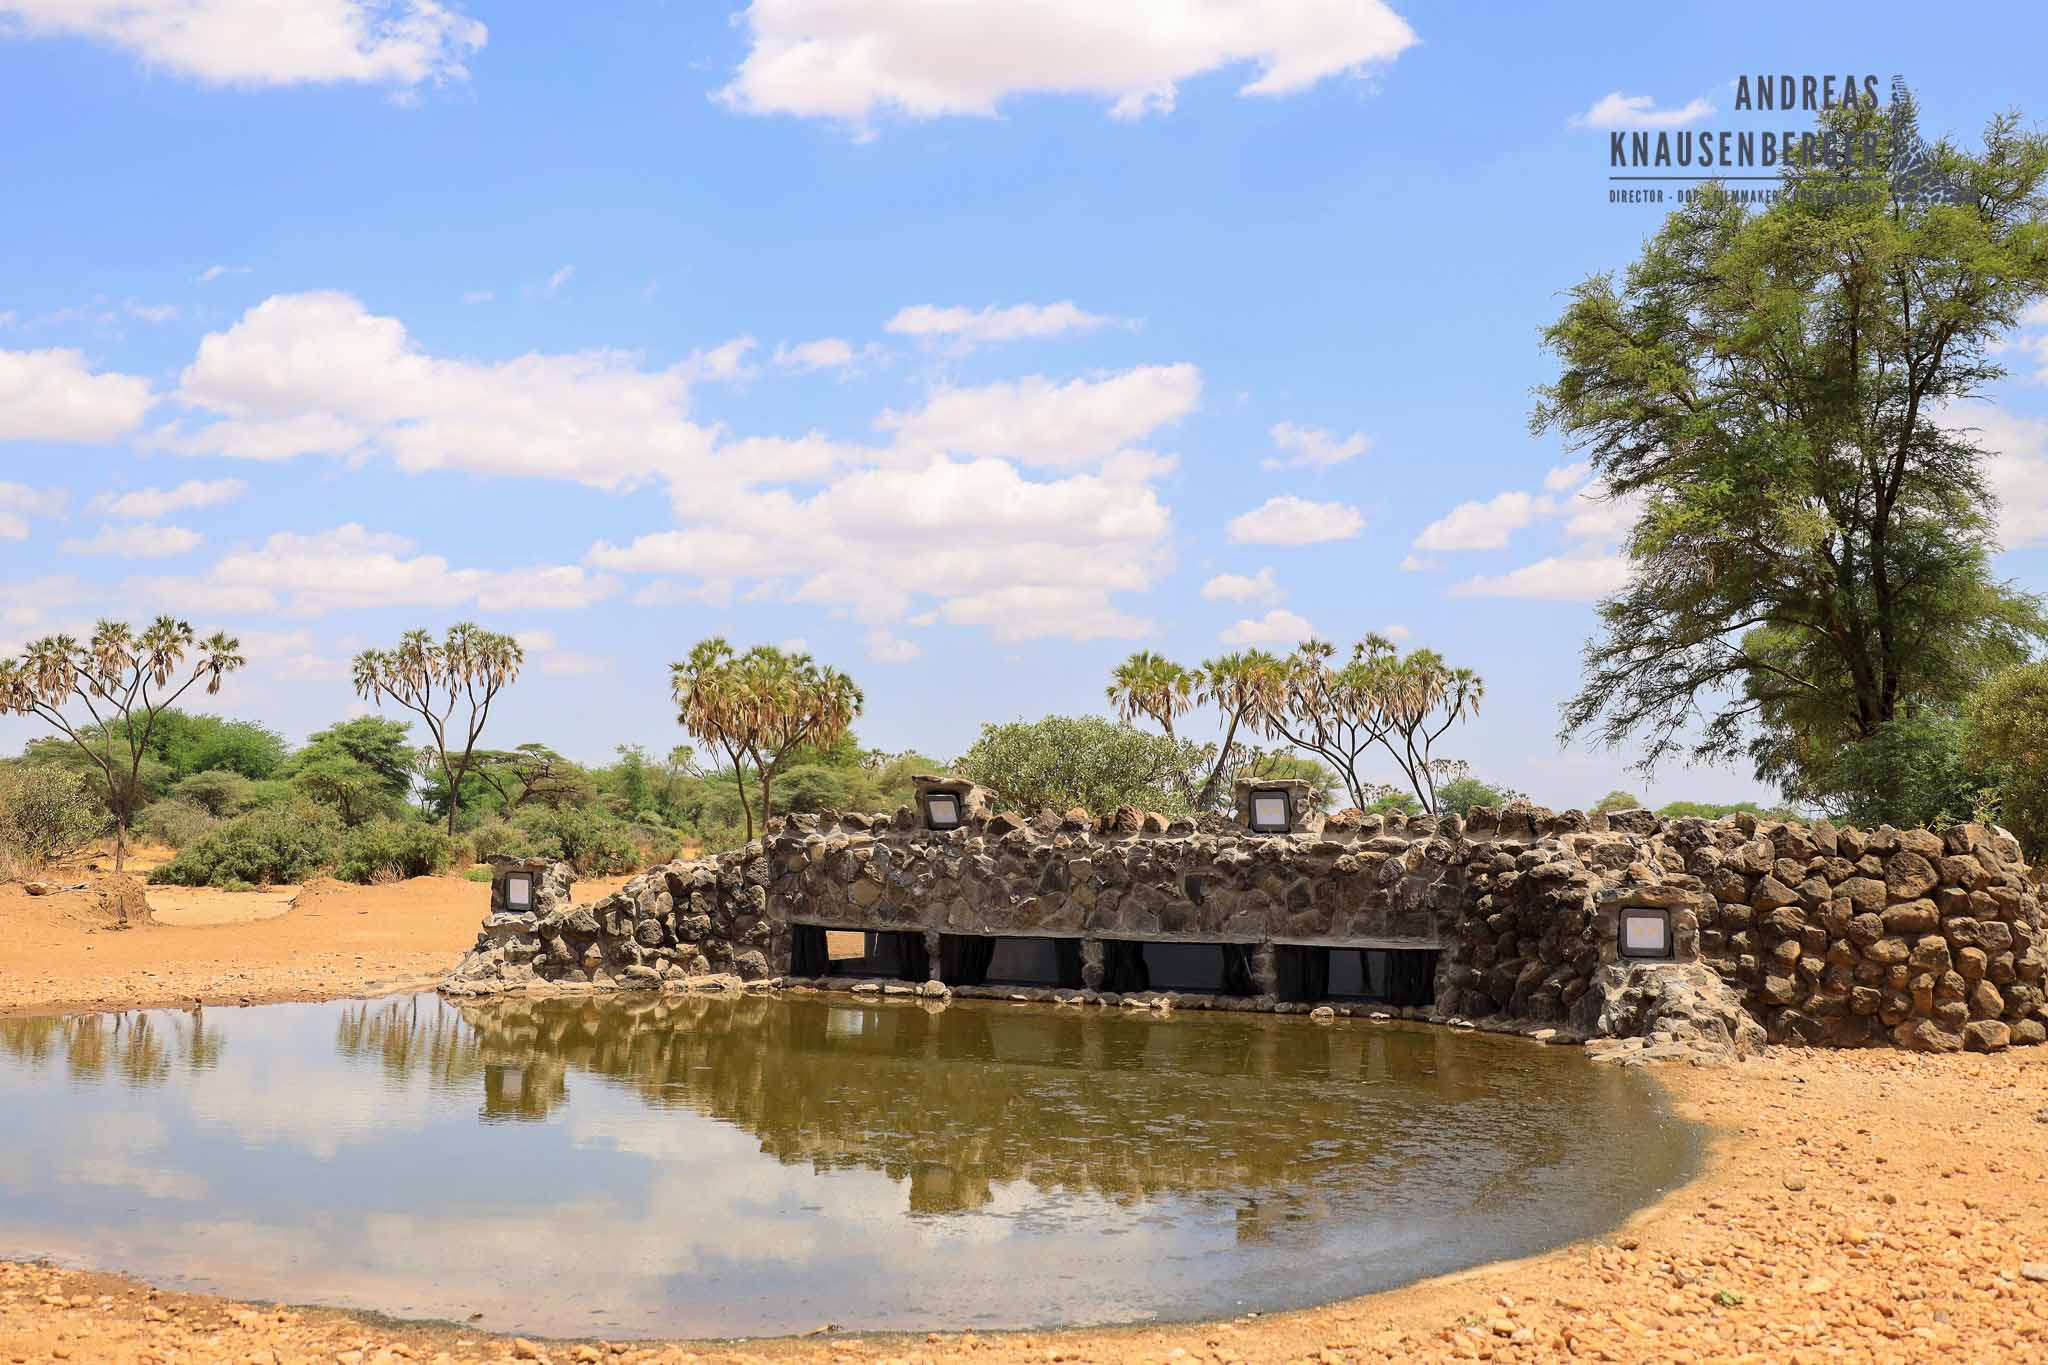
What does it take to design the perfect photography hide in Kenya?
Let’s take a look into how to built the perfect photography hide in Kenya. Hide Photography in Kenya is becoming more and more popular. Some years back there hasn’t been any professional hide for photographers and it was about time to change it. When I was asked to help to design the perfect photography hide, I couldn’t say no. It took a lot of time and effort of the team building the hide and at the end the result turned out amazing.
The position of the photography hide!
Well, how do you find the perfect photography hide position? It all depends on what you want to achieve. Both the locations had different challenges. Normally you want the hide to face north. So you can get the nice side light in the morning and in the evening. But this was only possible for one of the hides.
The other hide was below and escarpment and the sunrise was blocked by the same. The question was, do we position the hide facing north and have the nice side light in the evening or do we face it to the west, having the direct light facing the hide. I decided to face the hide to the north as it will give you more photographic options than shooting in direct sunsets.
The first video footage of elephants coming to the water hole showed that it was the right decision. The evening side light is just stunning!
Another important point on where to put the hides was the fact on where do the animals go. The hide in northern Kenya is next to the camp itself as this was the only available option. Even beeing next to a seasonal river, I believe the animals will use the water hole even if they would have the option of the river.
Its more convenient for them and also its fresh bore hole water which animals like the elephants always prefer over the river water. The river also runs dry quite often, so in the dry season the hide water will be the easiest available and therefore there is a high chance of the animals using it.
The photography hide in Tsavo!
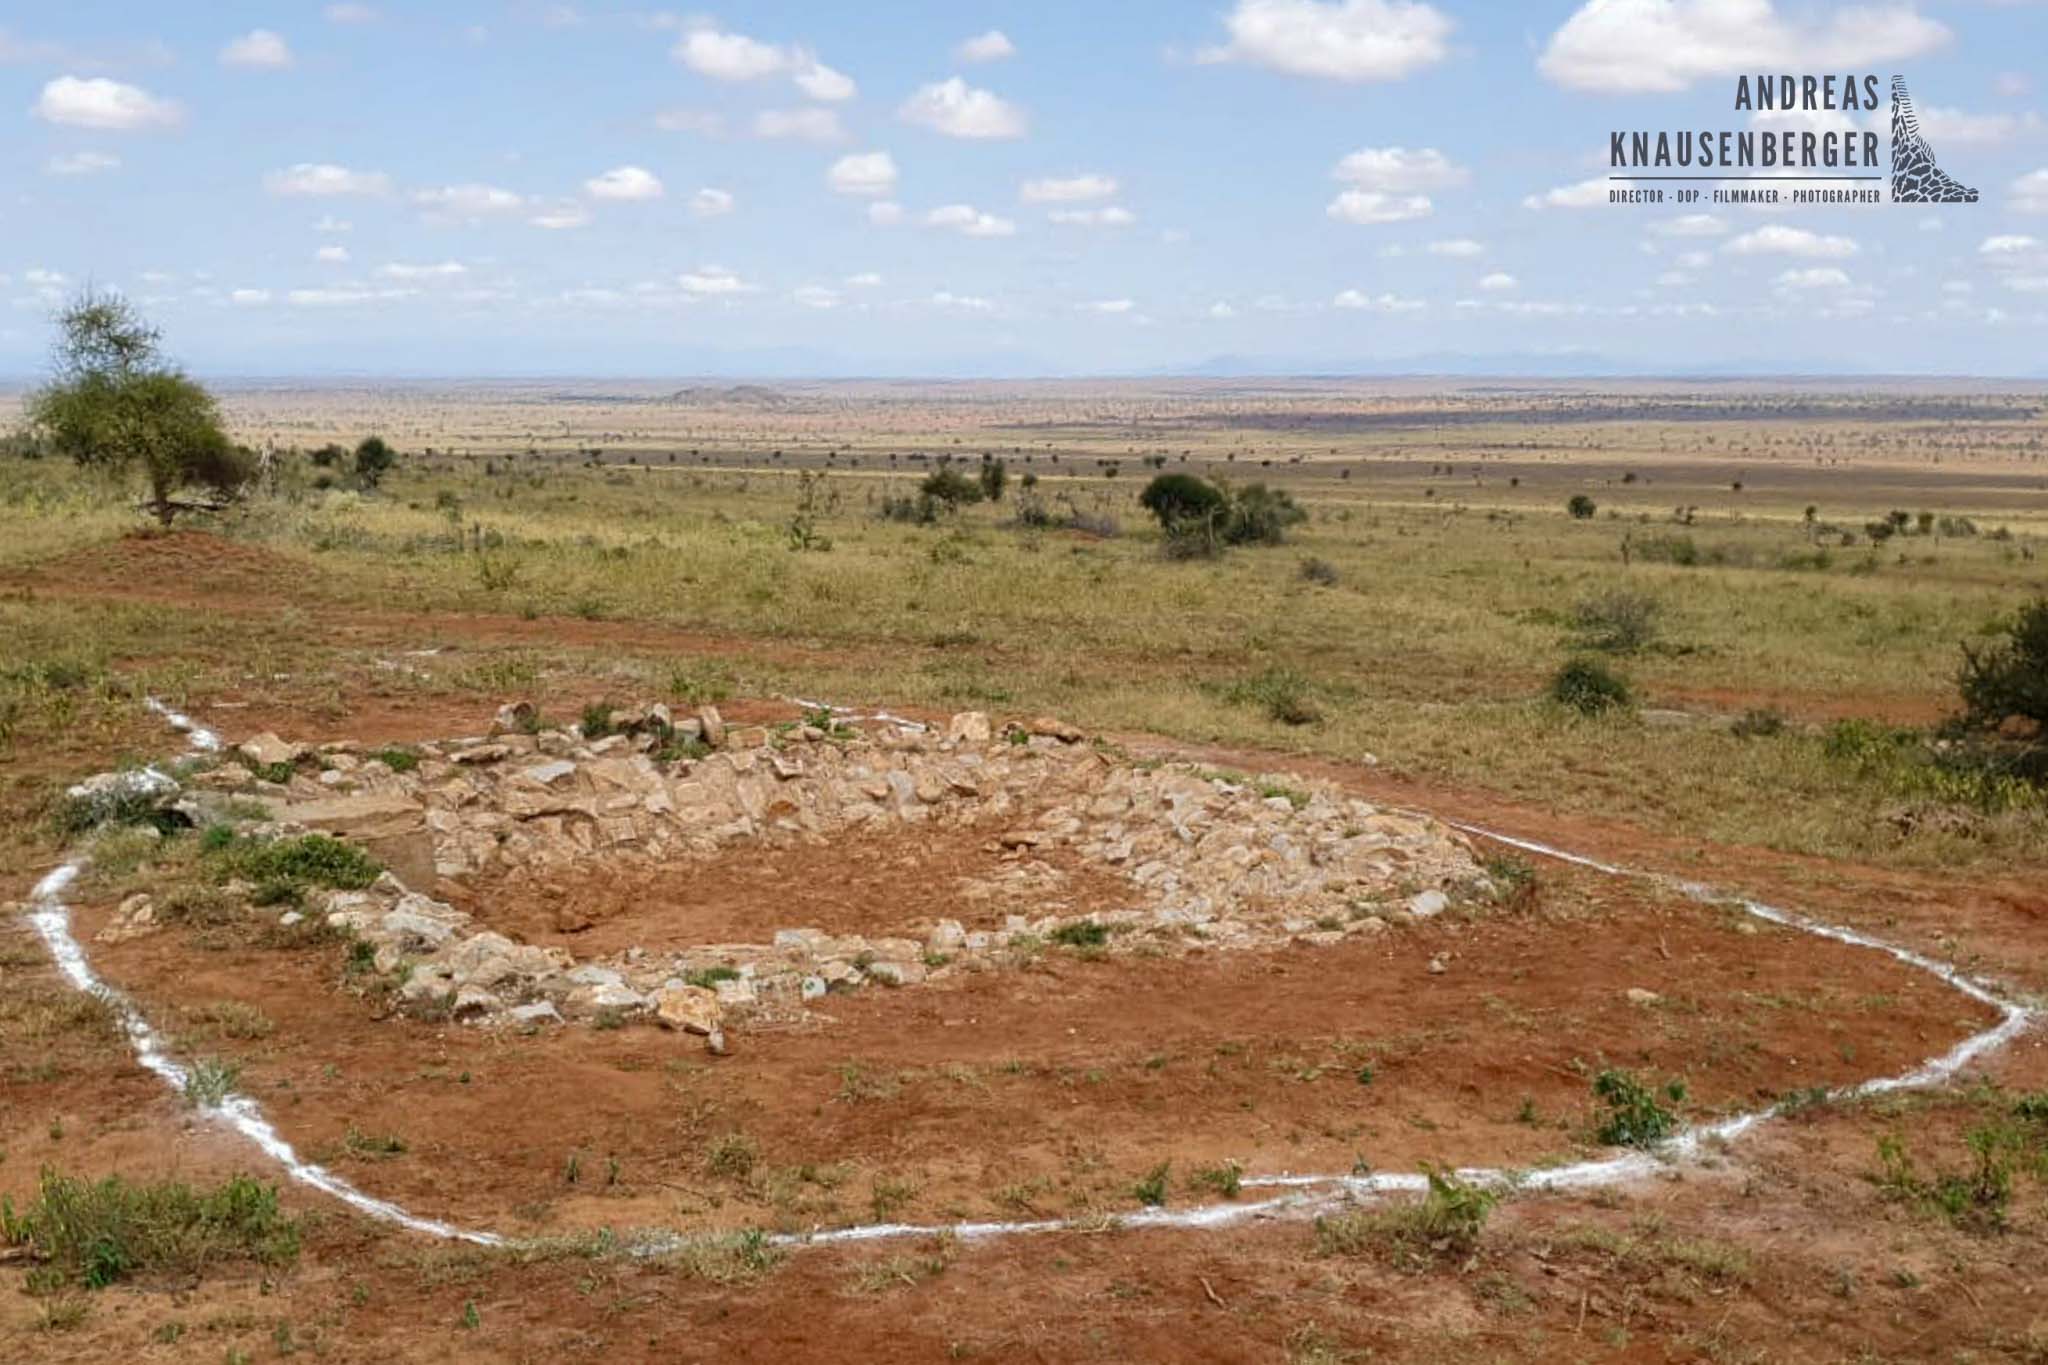
The second hide in Tsavo was easier to find the perfect location. The escarpment where the main lodge is situated on is a natural barrier between the two parts of the conservancy. So all the animals will walk around the escarpment to reach to the other side. So eventually they will find the water hole. Another thing is, that this waterhole is the only water source during dry season.
The animals have no other choice than using it. In the short time the water hole had water, lots of different animals have already come to drink the fresh water. Including lots of Elephants, Lions, Zebra, Hyena, Jackals and other smaller night active animals.
Finding a good spot for the hide is therefore very important. If done right, the animals will choose the hide as their main water source. It might take some time for the message to be carried around, but at the end I am convinced that the two locations will work out great in the future.
The water hole at the photography hide!
But what does it take to design the perfect photography hide in Kenya? Due my experience of shooting out of other hides, I was able to find out the pros and cons of the different hides all over Africa and could provide this input into the construction of the two new hides in Kenya. Beeing a wildlife photographer, I knew the challenges in hide photography.
So the first question was, what is the perfect distance from the hide to the edge of the water hole. After some trial an error with different focal lengths, it turned out that the perfect distance is in-between 8 and 11 meters.
The perfect distance for different lenses!
Of course it always depends on what animals you will expect at the water hole. As both of the locations of the new hides had big chances of elephants, I decided to go for the 11m distance. This will allow the photographers to use 24-70mm, 70-200mm lenses as well as 400mm lenses for smaller animals coming to the water hole without beeing to “close” to the subject and also not “too far” away. With this distance, the perfect combination of lenses would be the 24-70mm f2,8 and a 400mm f2.8.
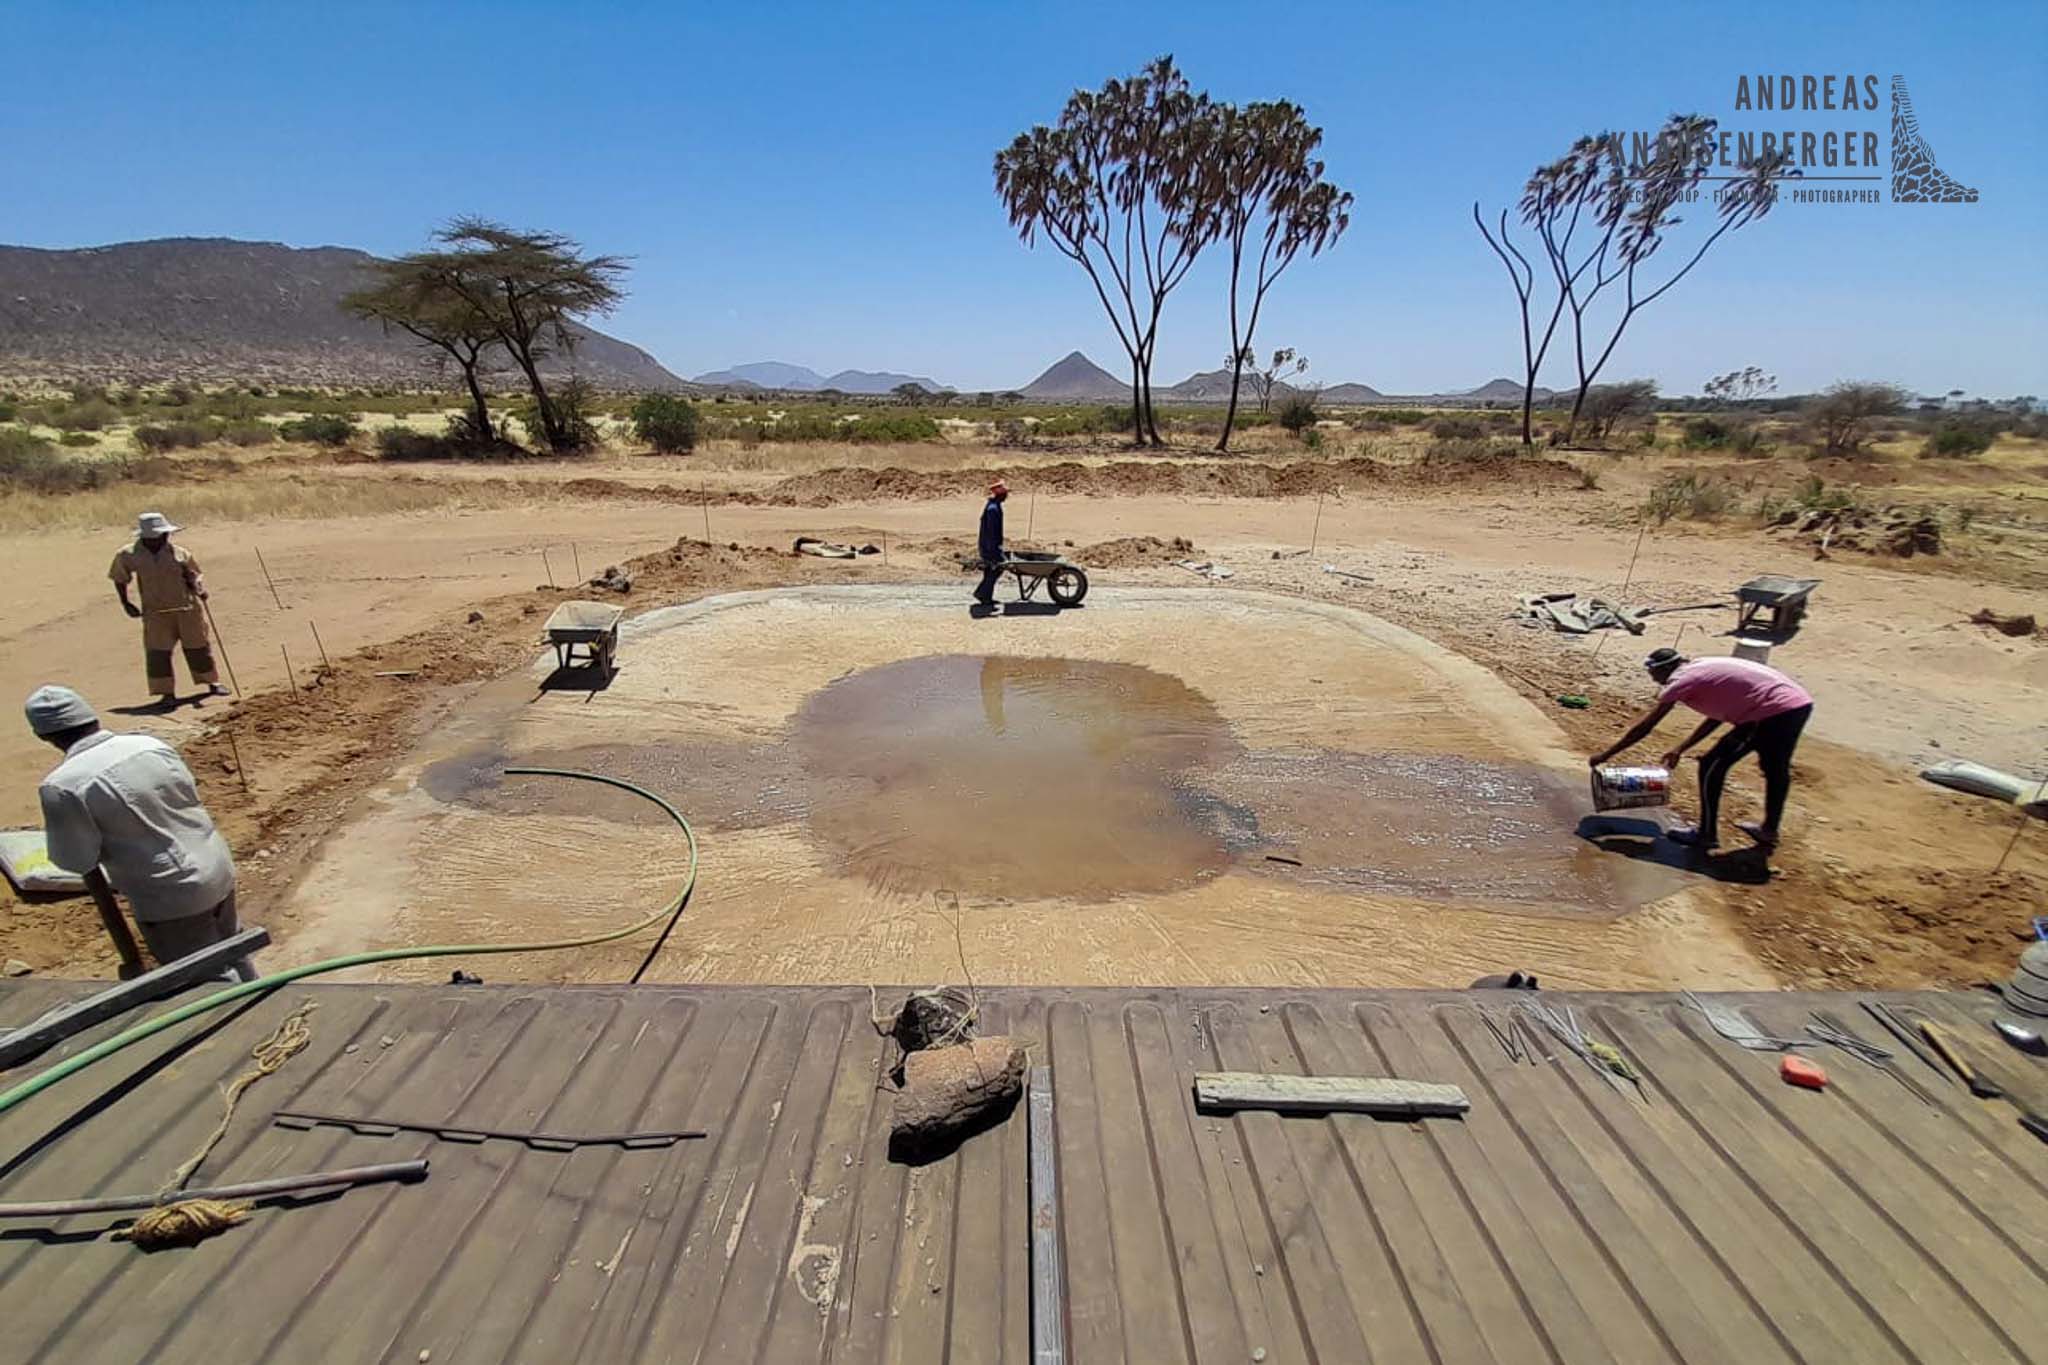
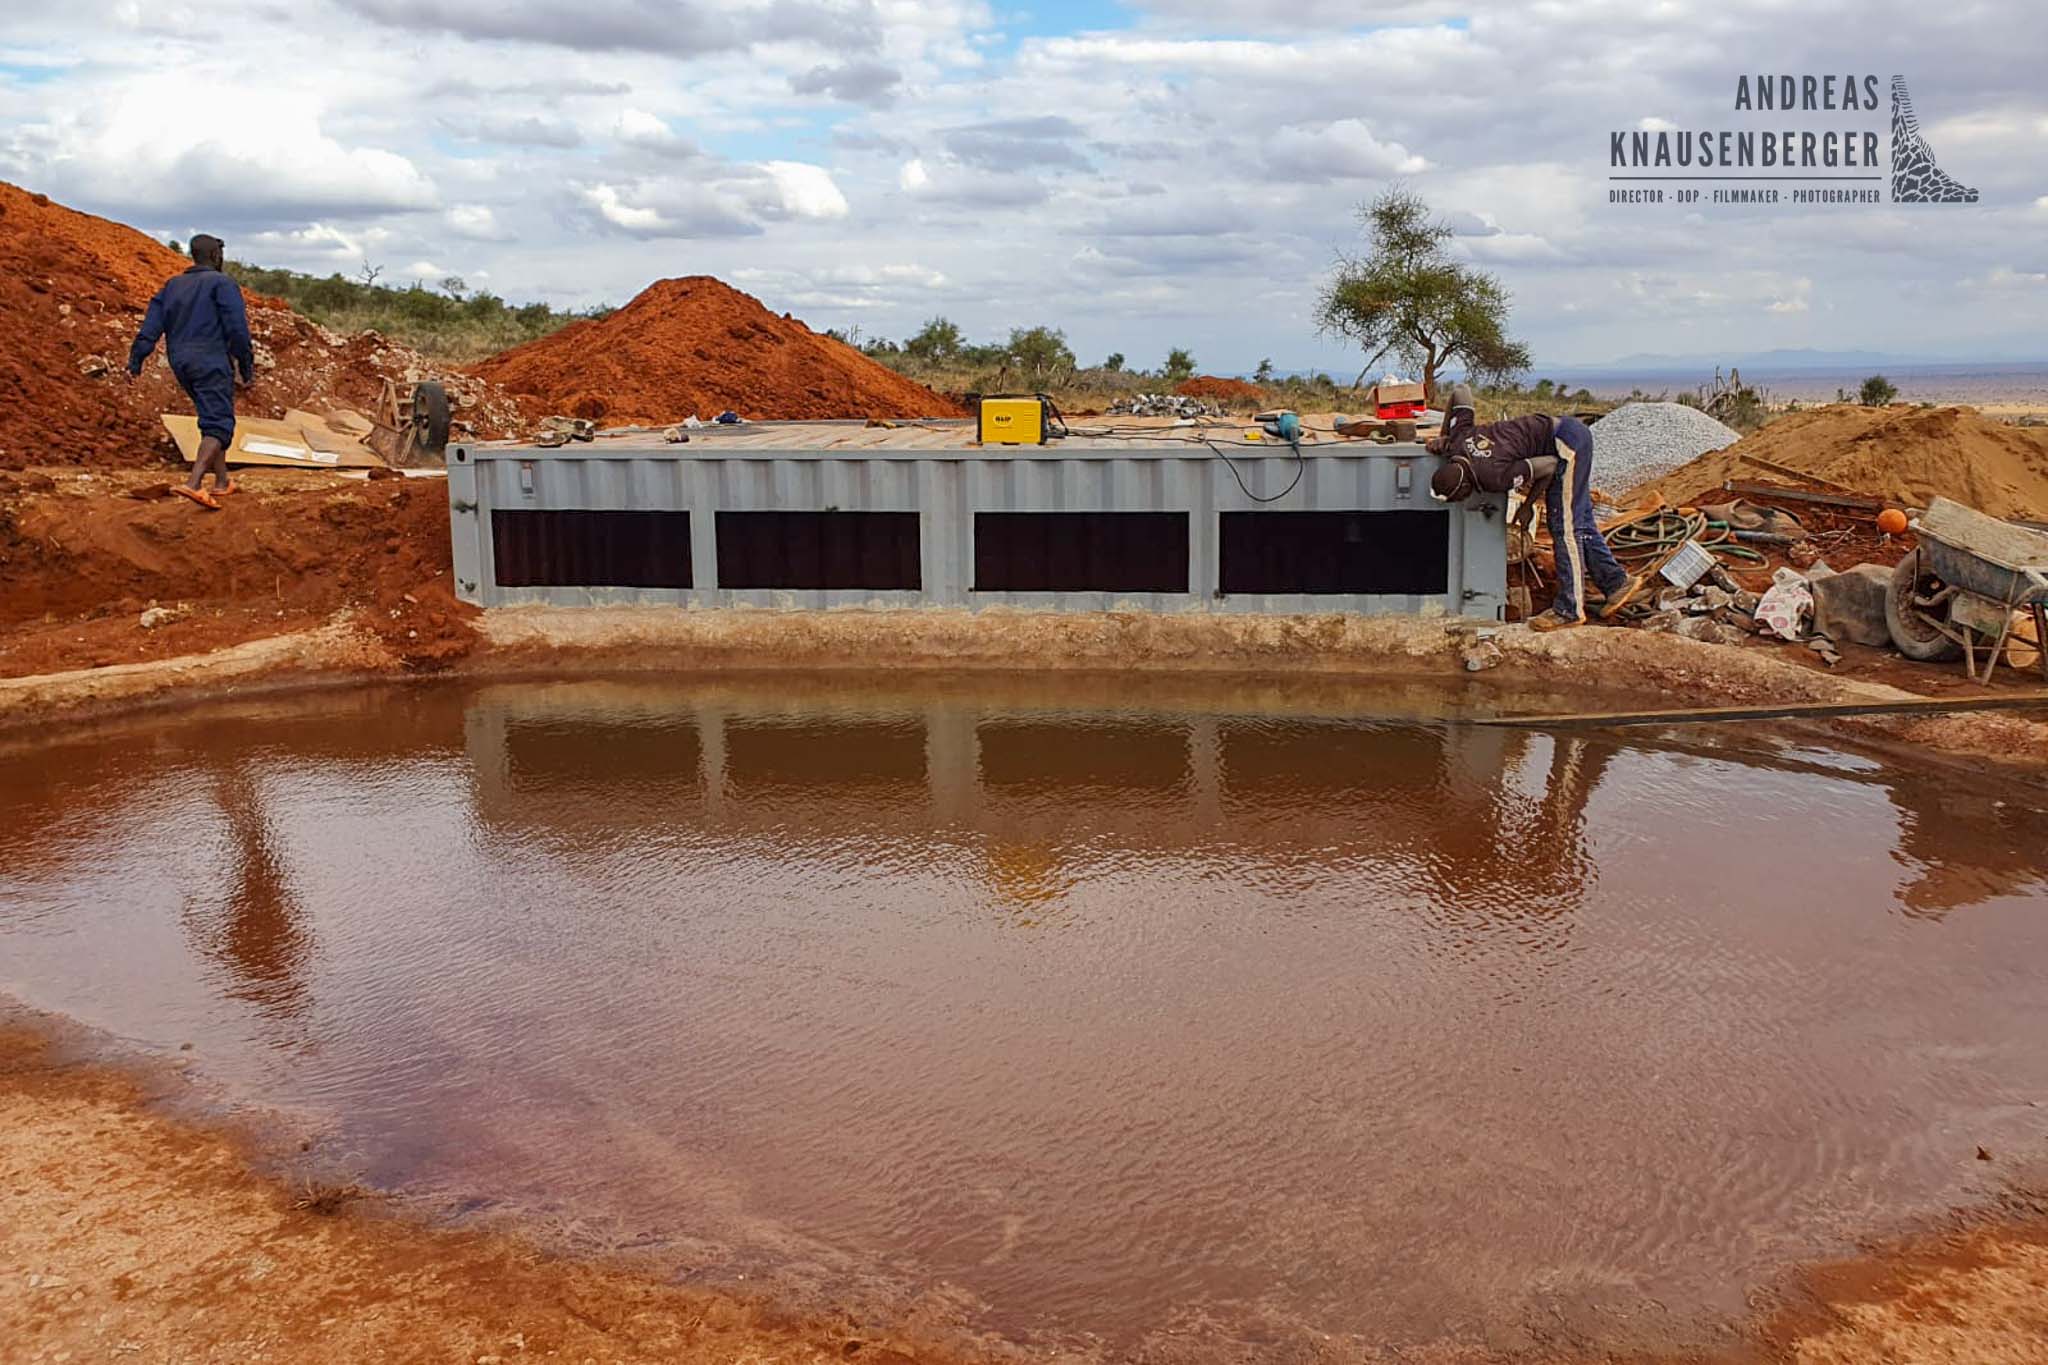
After the distances where defined, the guys started to built the water hole. It was important to get the water hole done first, as it would give time to the animals to find and get used to it. The water hole itself has a dam liner underneath the concrete cover. This will prevent the water of leaking into the ground in case the concrete pan gets damaged.
The shape of the water hole is a tear drop shape so photographers will have different angles on the animals. As I expected big herds of elephants, the frontal side of the water hole is quite wide. Giving enough space for the elephants to stand next to each other.
The Photography Hide!
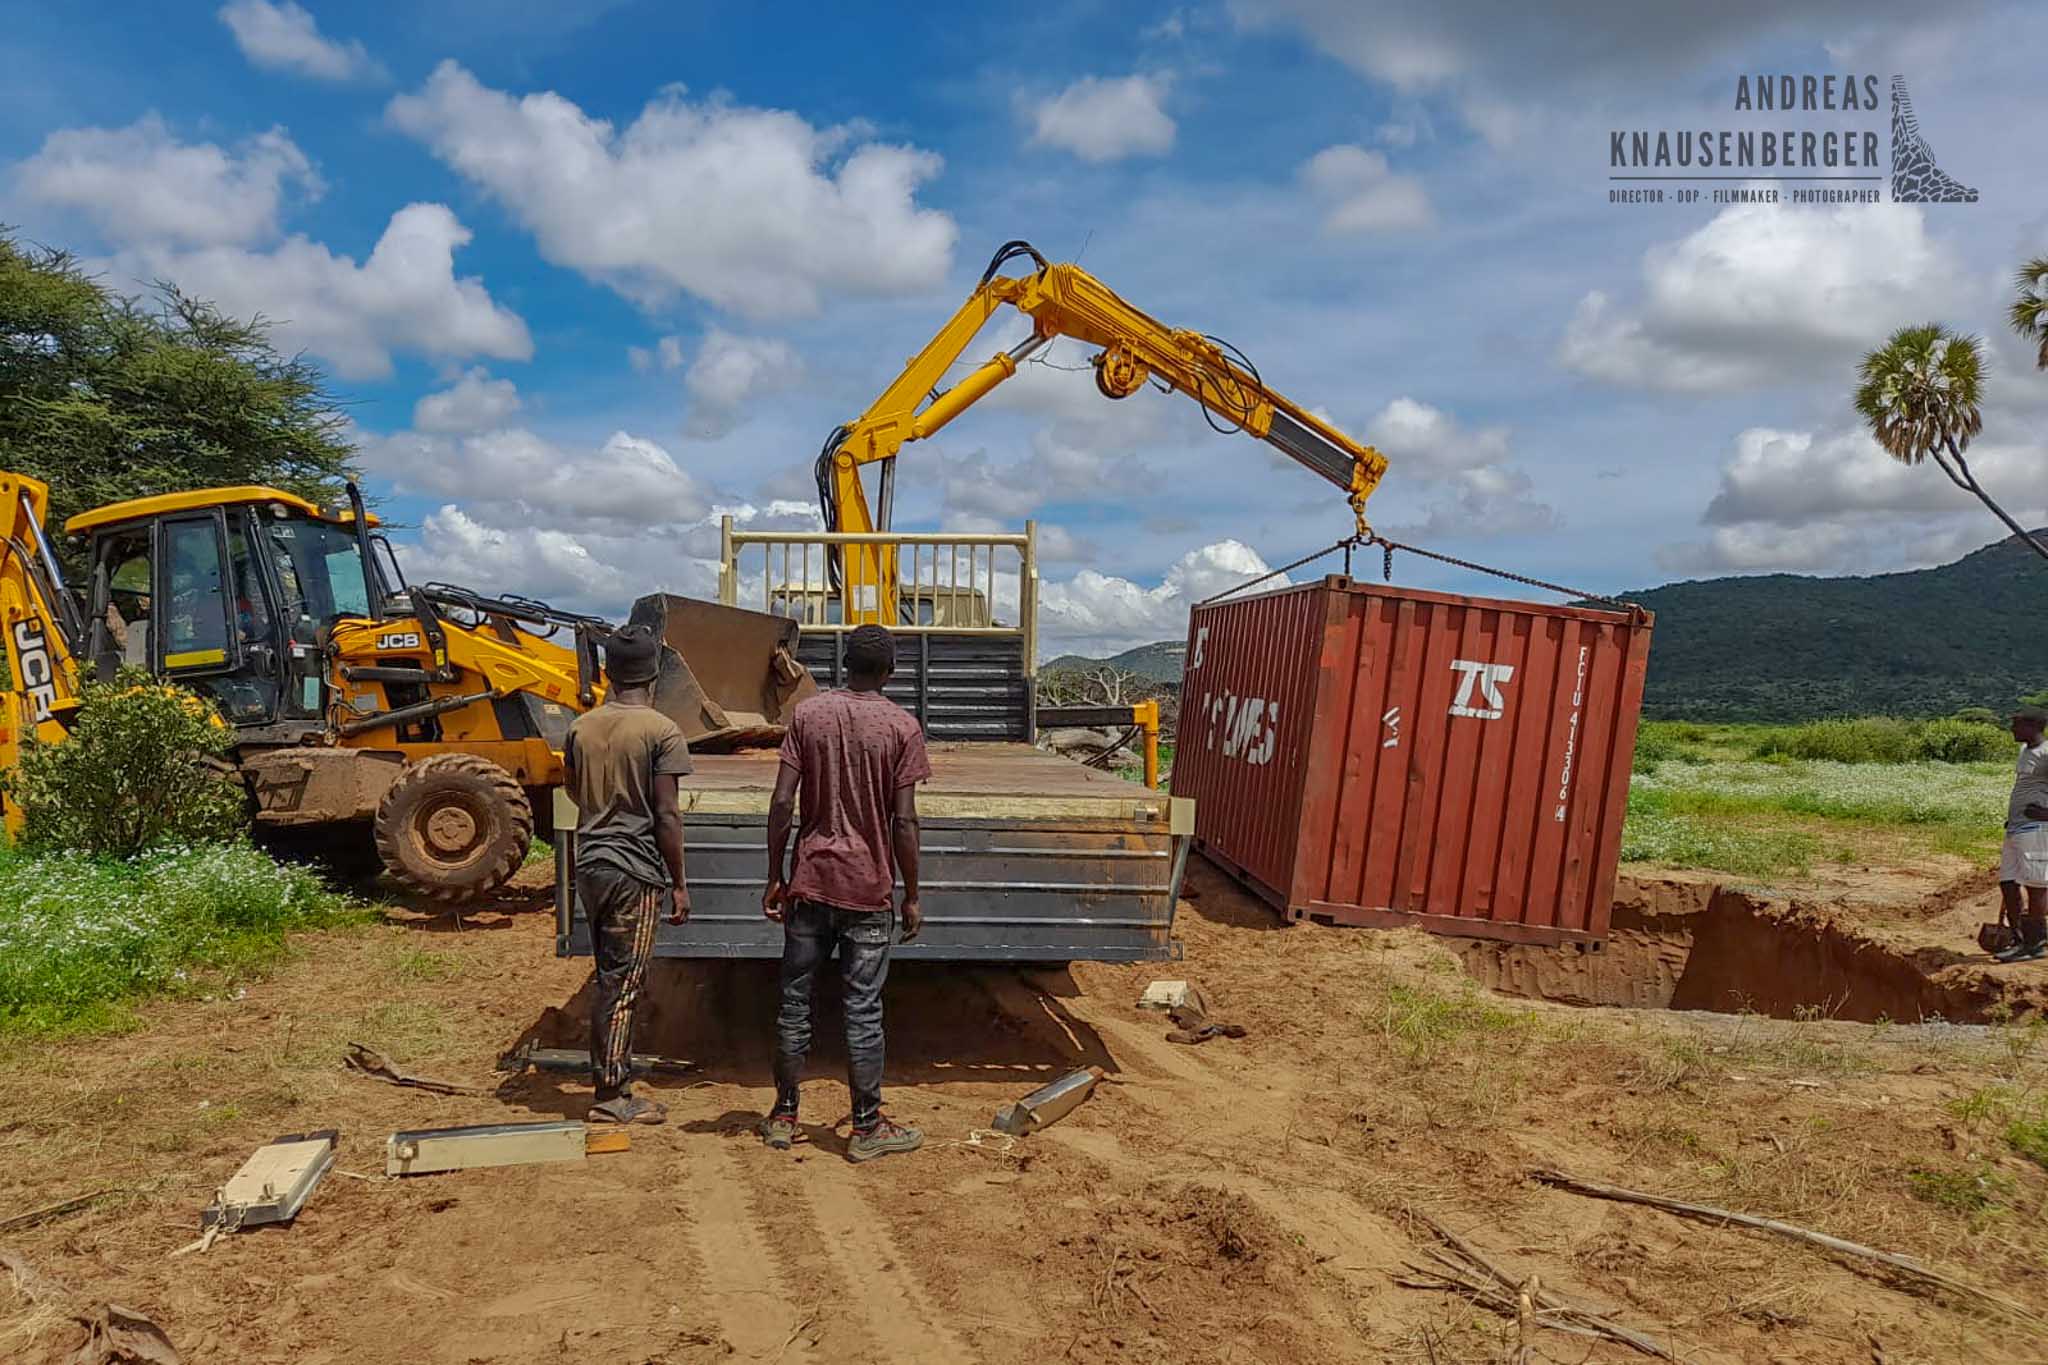
Both the hides are using 20″ containers as the base. These containers are solid and provide a good starting point. The overnight hide in Tsavo has actually two 20″ containers connected to each other as there is no access to the main lodge from the hide.
The hide in northern Kenya does have direct access to the lodge via a 60m long tunnel. Both hides have a toilet at the beginning of the main tunnel. So privacy is guaranteed 🙂
The lighting!
The lighting system in a photographic hide is very important. First you want to make sure you have bright enough lights as otherwise it will be difficult to shoot in higher shutter speeds without going crazy with the ISO. Therefore I decided to use 100W LED flood lights. Both the hides have a total of 2 top lights, 2 front lights and 2 side lights. All of the lights are individual controllable over a centre switch hub inside the hide.
So the photographers can choose what light to use to create different looks. So depending on what lights are on, you can create frontal, side and back light situations.
I also advice to install two dimmable spot lights to keep the lights as low as possible during the night. These dimmable lights can then be used to increase the brightness at the water hole before switching on the main lights. Tests have shown that the animals don’t really bother about the main lights beeing switched on without dimming.
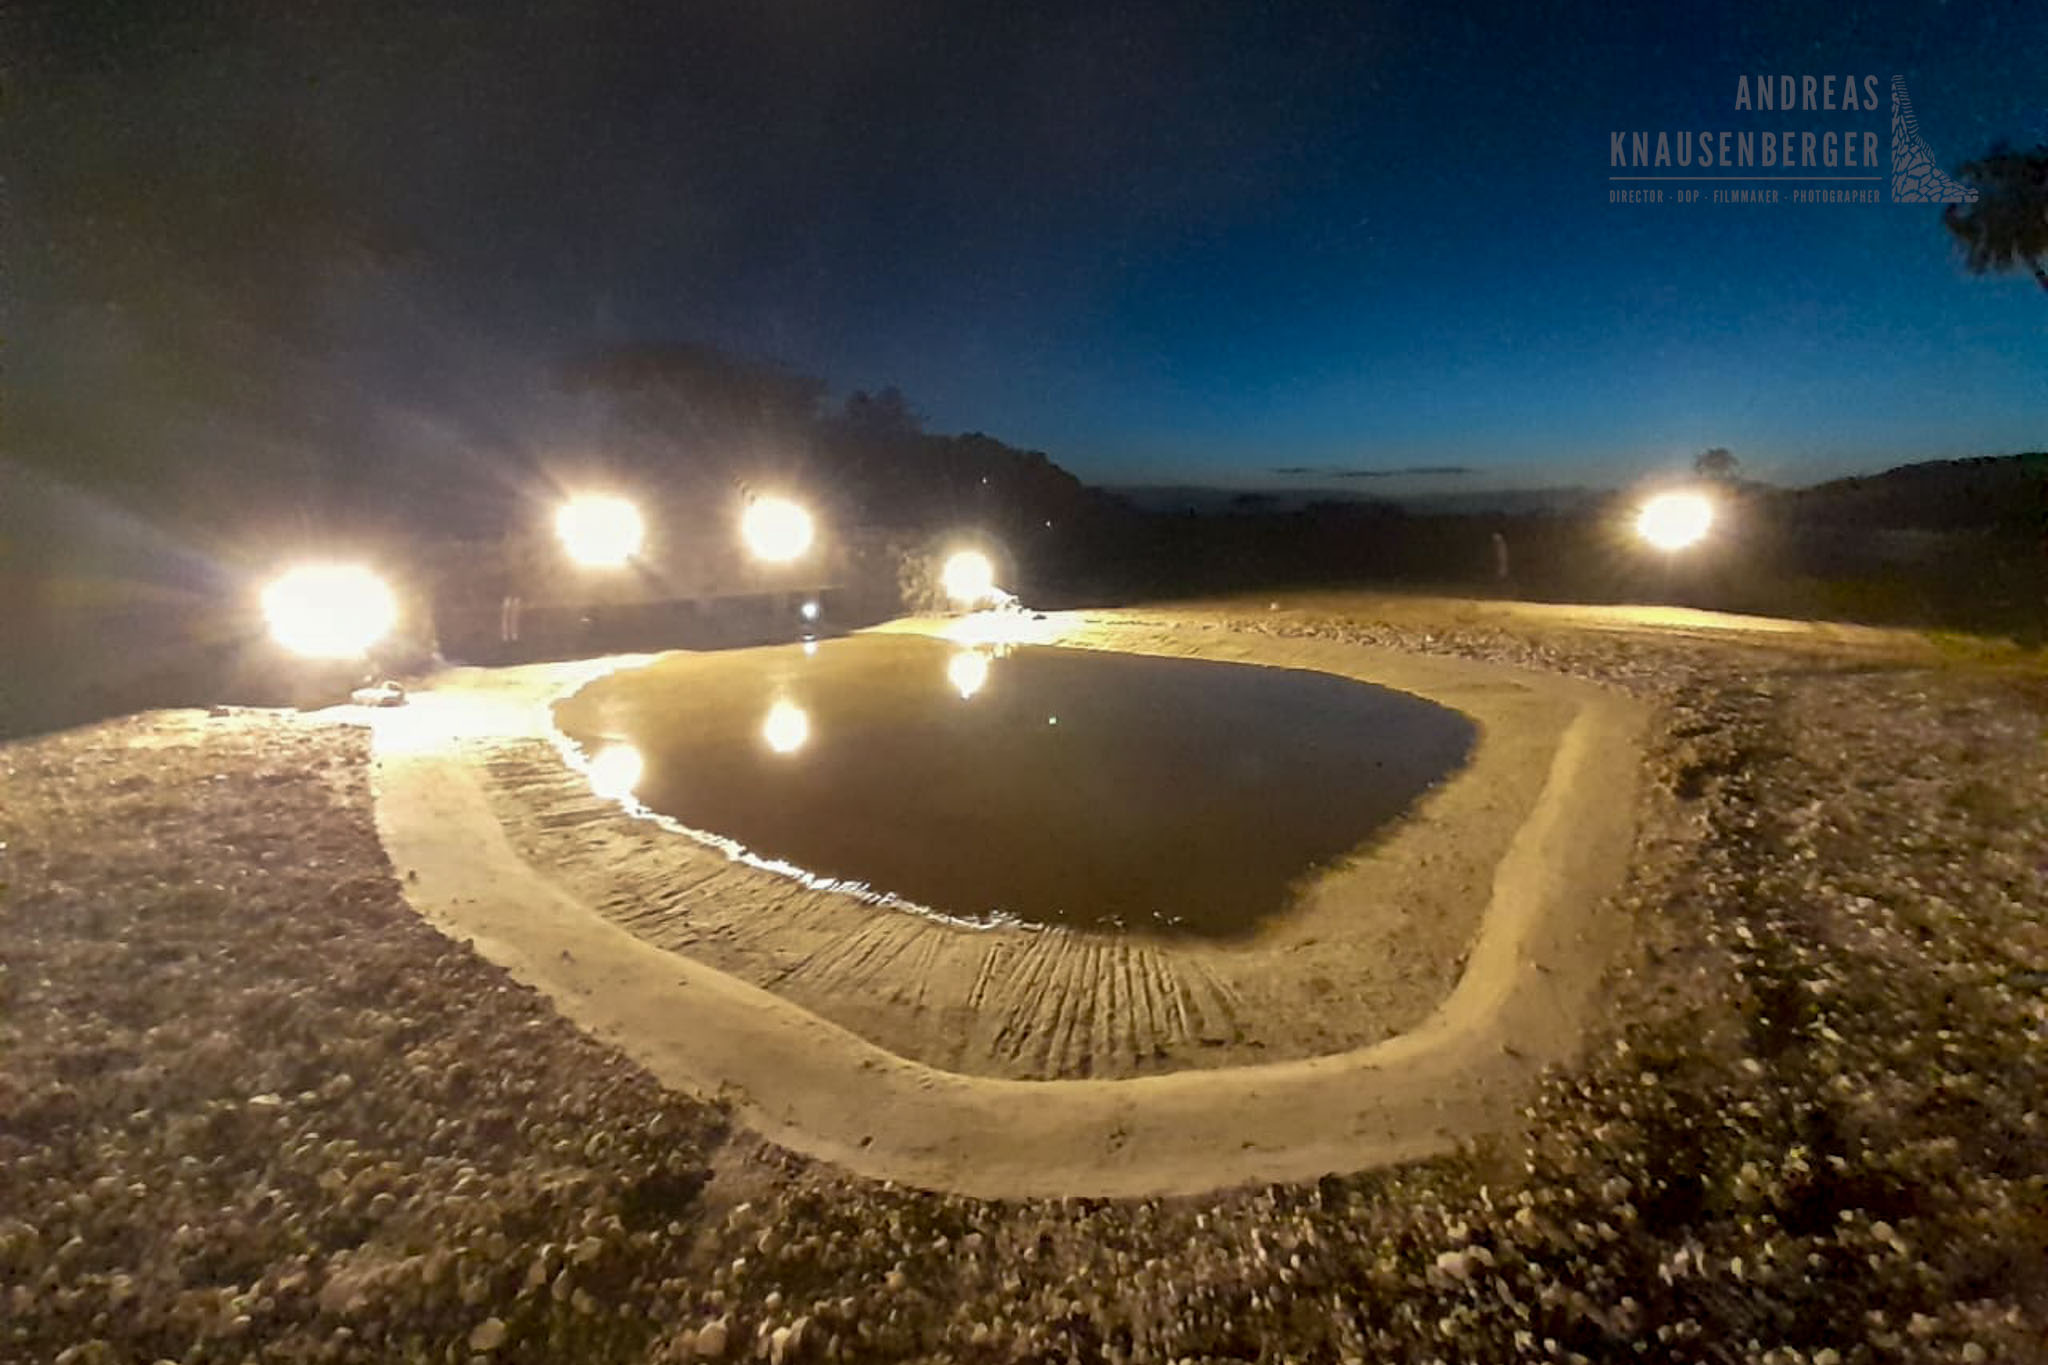
We are still testing out a new backlighting system for the hides, but we can’t tell you yet if it will work the way we think it will. But I will definitely keep you updated on the progress. The idea is to create a full backlight backdrop running over the whole distance of the longest side of the water hole. If this works out, it will generate an even backlight for all the photographers in the hide. Can’t wait to see if it works!
The photography hide interior!
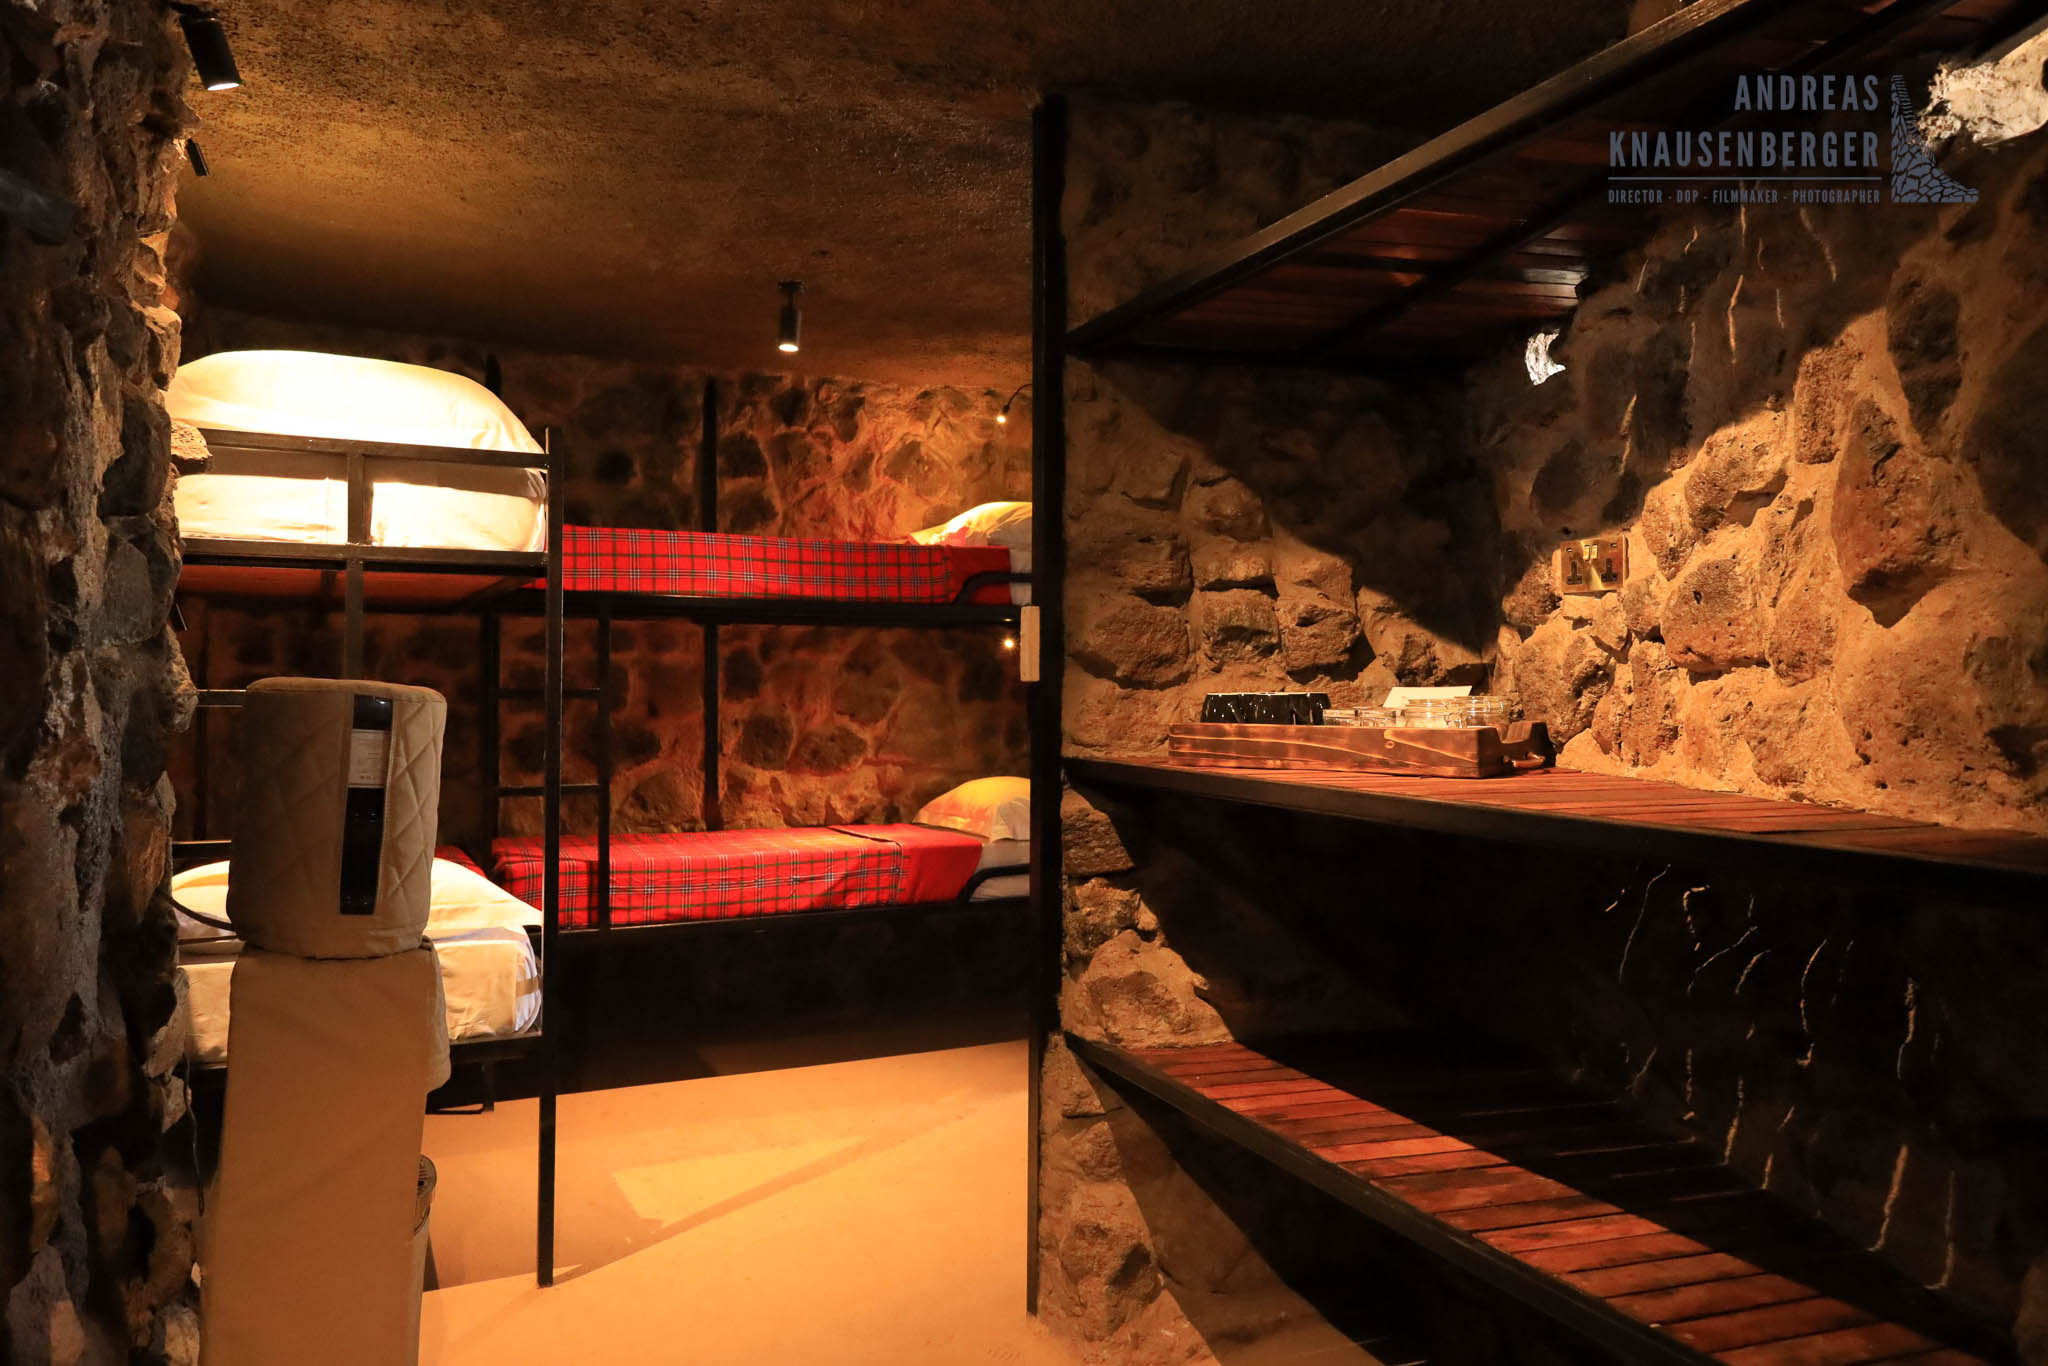
Both hides are designed to be “overnight hides”. That means that photographers can stay the whole night inside the hide. Therefore the hides had to be as comfortable as possible. Bunk beds provide a comfortable sleeping spot for the photographers. So while one person is watching out, the others can rest a bit before changing the shift.
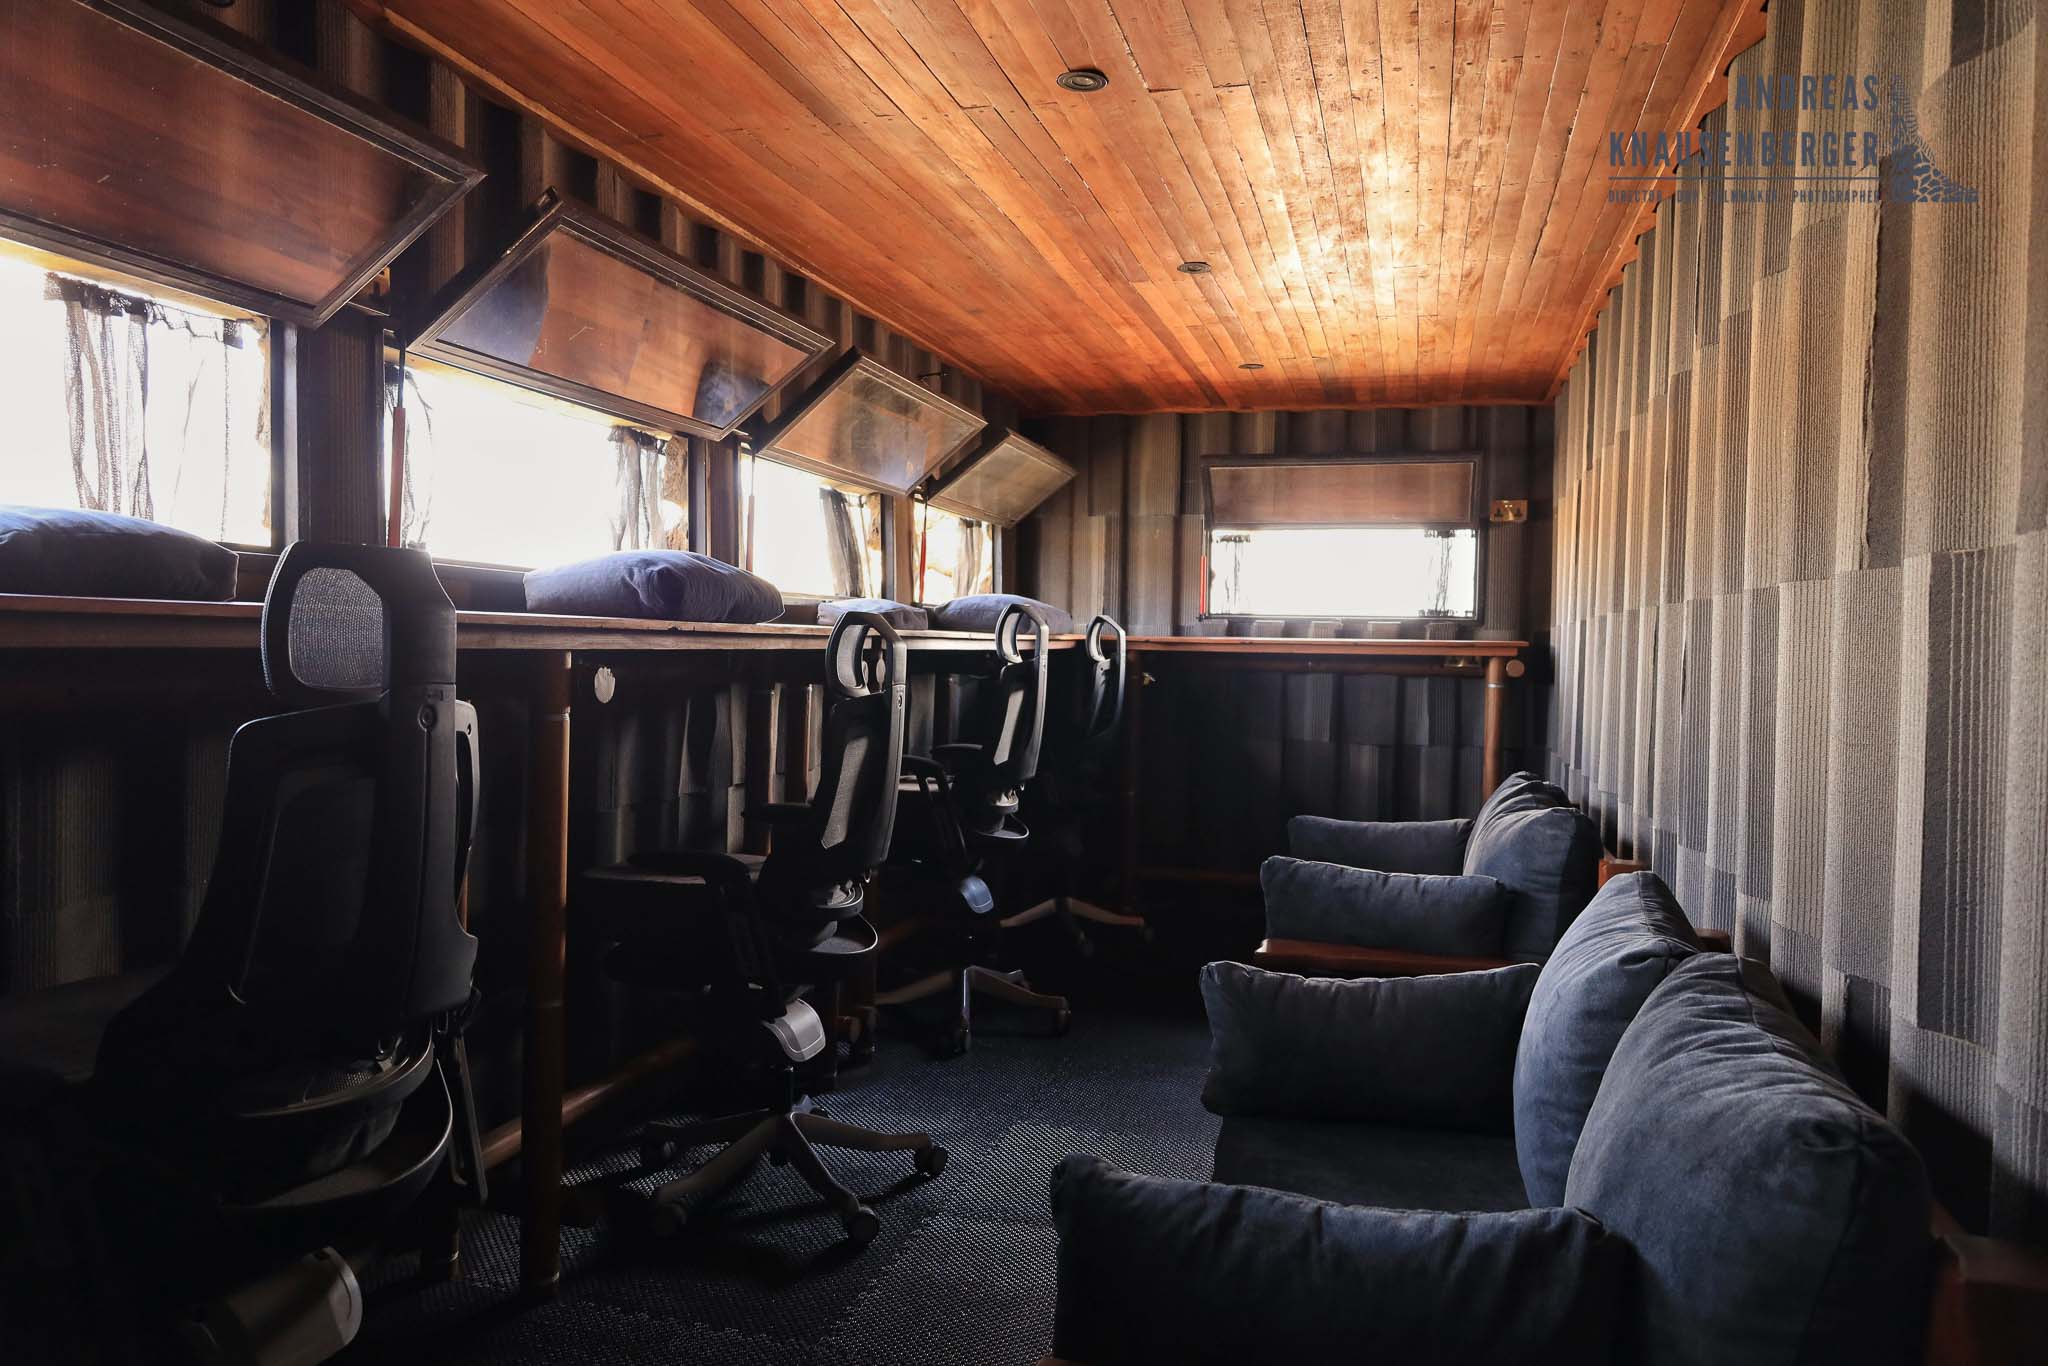
Both the hides have windows which are possible to open to the inside of the hide. This allows the photographer to have a clear and undisrupted shot without having to shoot thought glas. Therefore the best image quality is given. The comfortable rolling chairs allow the photographer to change the height of the sitting position as well as the chairs position.
Sound proofing and lens support!
The floor is equipped with rubber tiles to avoid sound while moving inside the hide. The whole inside of the hide has dark dampening material to lower the sounds further.
The bean bags for the hide are covered with soft fabric to reduce the sound while moving them around. The first bean bags where out of canvas material, but super noisy while moving them. Therefore it had to be changed to bean bags with soft fabrics. In my opinion, bean bags are still the easiest and best way to photograph with as you can move them freely around. The other option is a gimbal system, but I find that restricts a fast movement of the camera if needed.
Summary
Designing a photography hide in Kenya is not easy and takes a lot of effort from everyone involved. So it is always a joint task and with these two hides I have to give a big shout out to the construction workers and Nadeem who overlooked everything. I also wanted to give a big shout out to Guts Swanepoel from Pangolin Photo Safaris for his input on the technical design of the hide. His experience building other hides in Africa helped a lot to get the “perfect” photography hide done!
You can book your hide session directly with our travel agency Extrakt Travel GmbH -> www.extrakt-travel.com
Just drop us a mail and we get back to you!
Picture credits: Nadeem / Nikhil
